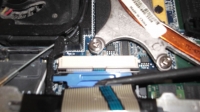
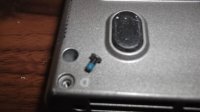
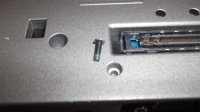
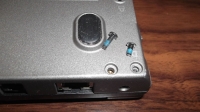
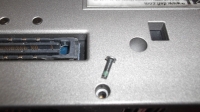
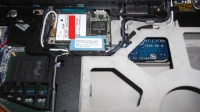
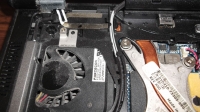
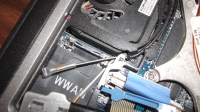
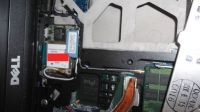
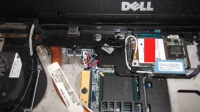
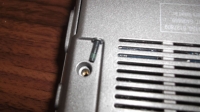
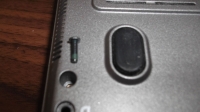
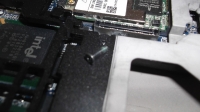
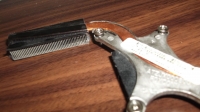
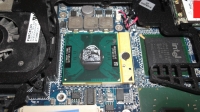
I took apart my Dell Latitude D620 laptop to remove some dust from the fan area and the component attached to the CPU heat sink. I often take photos to help me remember the steps and especially the screw sizes and where they fitted.
Warning: These photos do not show all screws as I didn’t remove them all in this instance. So this is not a comprehensive set of photos! You use any information from this blog post at your own risk!
January 2021 update: I published this blog post in 2013 and I still own two D620 laptops! I currently use them offline to play old games using Windows XP. Sometimes I play multiplayer games using a network lead between the two laptops.
I thought I would share these photos with anyone with a D620 who is interested in looking inside of a Dell D620. Also this blog post provides some ‘how to’ notes on various chores I’ve carried out in the past. This post will be a reference for myself in the future!
Whilst I don’t recommend just anyone takes their laptop apart, I have years of PC building experience, including laptop repairs and part replacement experience, which is different from working on desktop and tower computers.
Notes:
How to remove the D620 keyboard
Removing the keyboard is the first steps to most D620 repairs and replacements chores. You remove the plastic strip for the sound and power buttons from right to left.
How to remove the D620 LCD screen
You need to remove the keyboard, unattach the cables from the LCD screen to the motherboard, and finally you remove the screws at the back corners.
How to replace D620 laptop ram
There are two areas where laptop ram is slotted into the laptop. Once slot is located on the rear of the laptop. The second slot is assessible by removing the keyboard, as mentioned above.
How to replace the D620 hard drive
You unscrew the two screws for the hard drive caddy to remove it from the HD bay. Then you unscrew the screw connecting the caddy to the SATA 2.5” hard drive (remembering which way round it goes!). Now you can replace the hard drive.


